

Hello friends!
Sharing with you our before and afters on our dresser and end tables for our master bedroom! Here's our story about these dressers :D
I had been scouring the internet to find the perfect dressers that I imagined to go with our bedroom decor. Whites, golds, browns, blues, and yellows are the color palate that I had been aiming for. I checked on Wayfair for some good deals but nothing that I envisioned was coming through. SO i resorted to this Do-it-yourself project. I found some free dressers and end tables off of Facebook Market. A hotel was getting rid of their old furniture and because I like the shape, I went and picked them up ASAP!
Here are the things we used:
- Sander
- Drill
- Saw
- Wood dowel
- Paint
- paint accessories
- handles (the ones we used to replace the old ones)
Remove Old Handles
First we removed the old handles, and then sanded down the dressers. Ivan did a great job! This is just so the paint can stick better and honestly gives it a fresh new face.
Fill in with Wood Dowl
Next we used a wood dowl to fill in the holes of the where the hold handles used to be. Wood dowels can be found at Lowe's or a Home Depot. They come in different sizes so make sure you find a size that will not leave gaps. It's optional to use wood glue. Our dowel were a perfect fit so there was no need for wood glue. Check out this video to help you understand how to do complete this task!
Sand it Down
Then we sanded down the dowls. This helps to make the look more cohesive so when you paint over it, you can't see where the old handle holes used to be.
Let the Painting Begin!
Next, we started painting! Finding paint that had more primer and paint was the best decision! It goes a long way! We only used 1 gallon for the dressers AND end tables and we still had some left. That's because we gave it 2-3 coats on each piece of furniture. So definitely invest at least $40-$50 on a good paint.
Once we were done painting, Ivan installed the new handles using a drill. This can be kind of tricky so i let Ivan handle it lol. He inserted the screw at the front of the drawer, and then one in the back. I advise to read the directions from the handles you order. Ours came with how to install so that helped a lot!
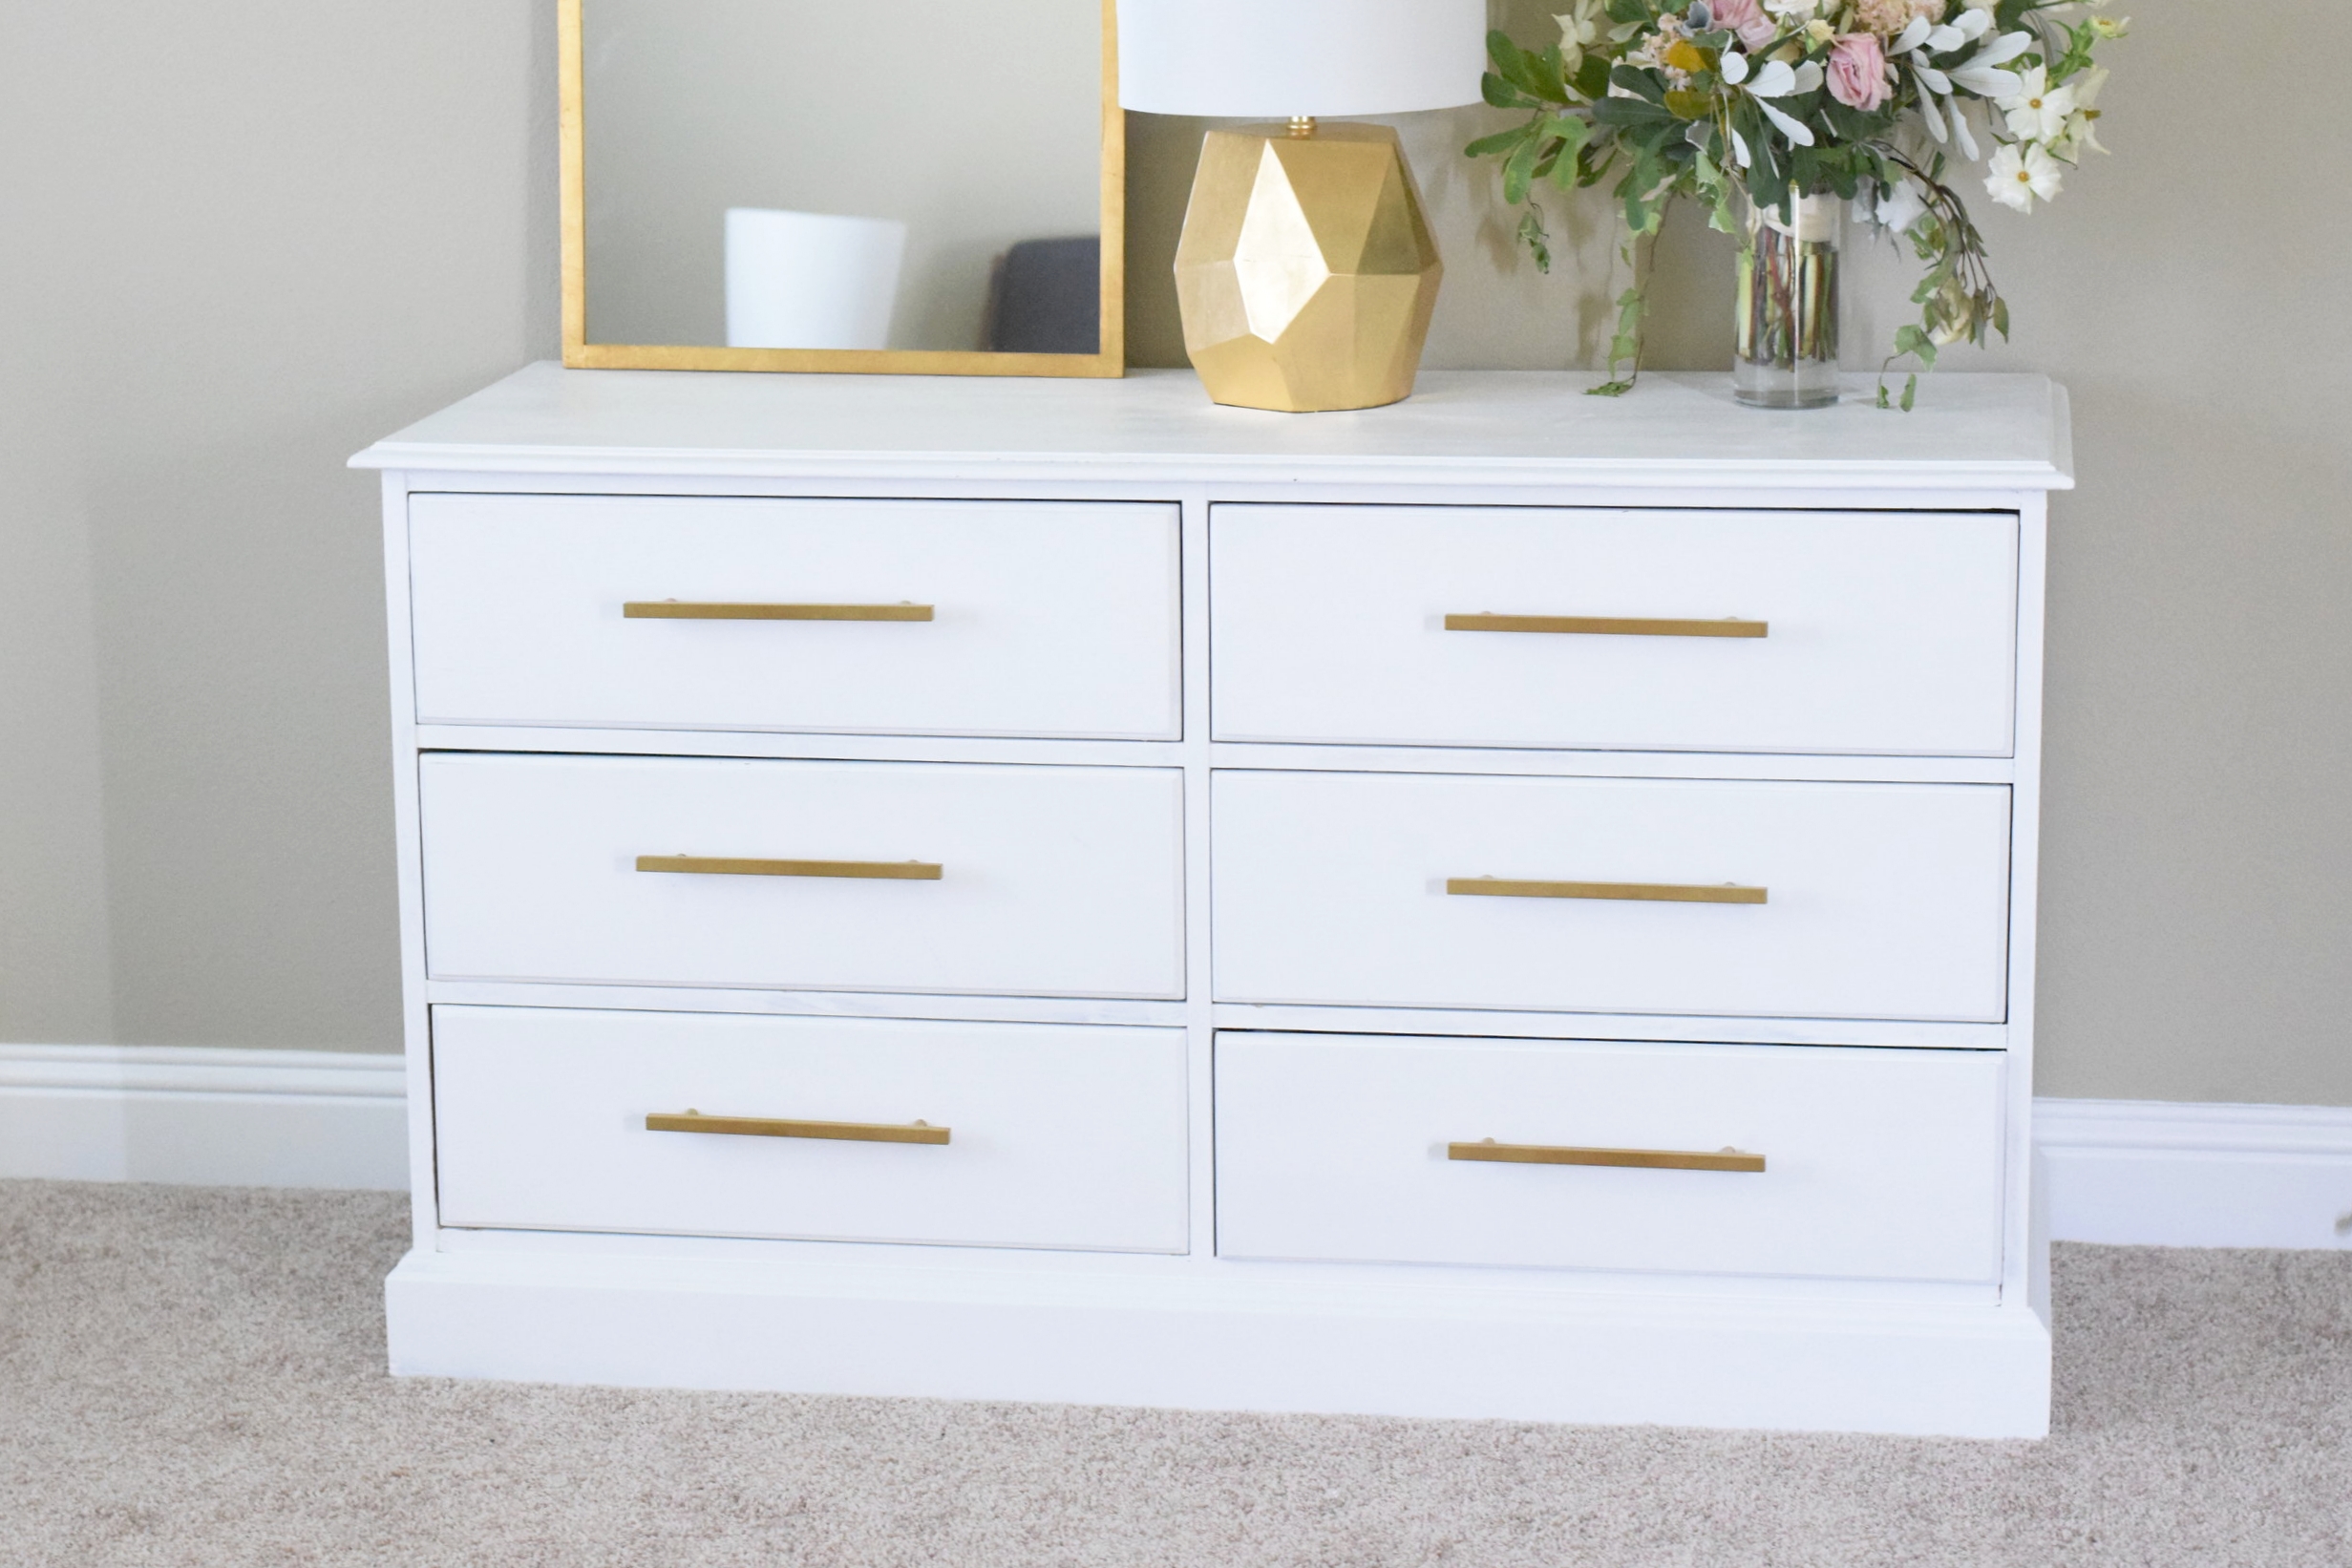
The big reveal! Here is what they look like now!
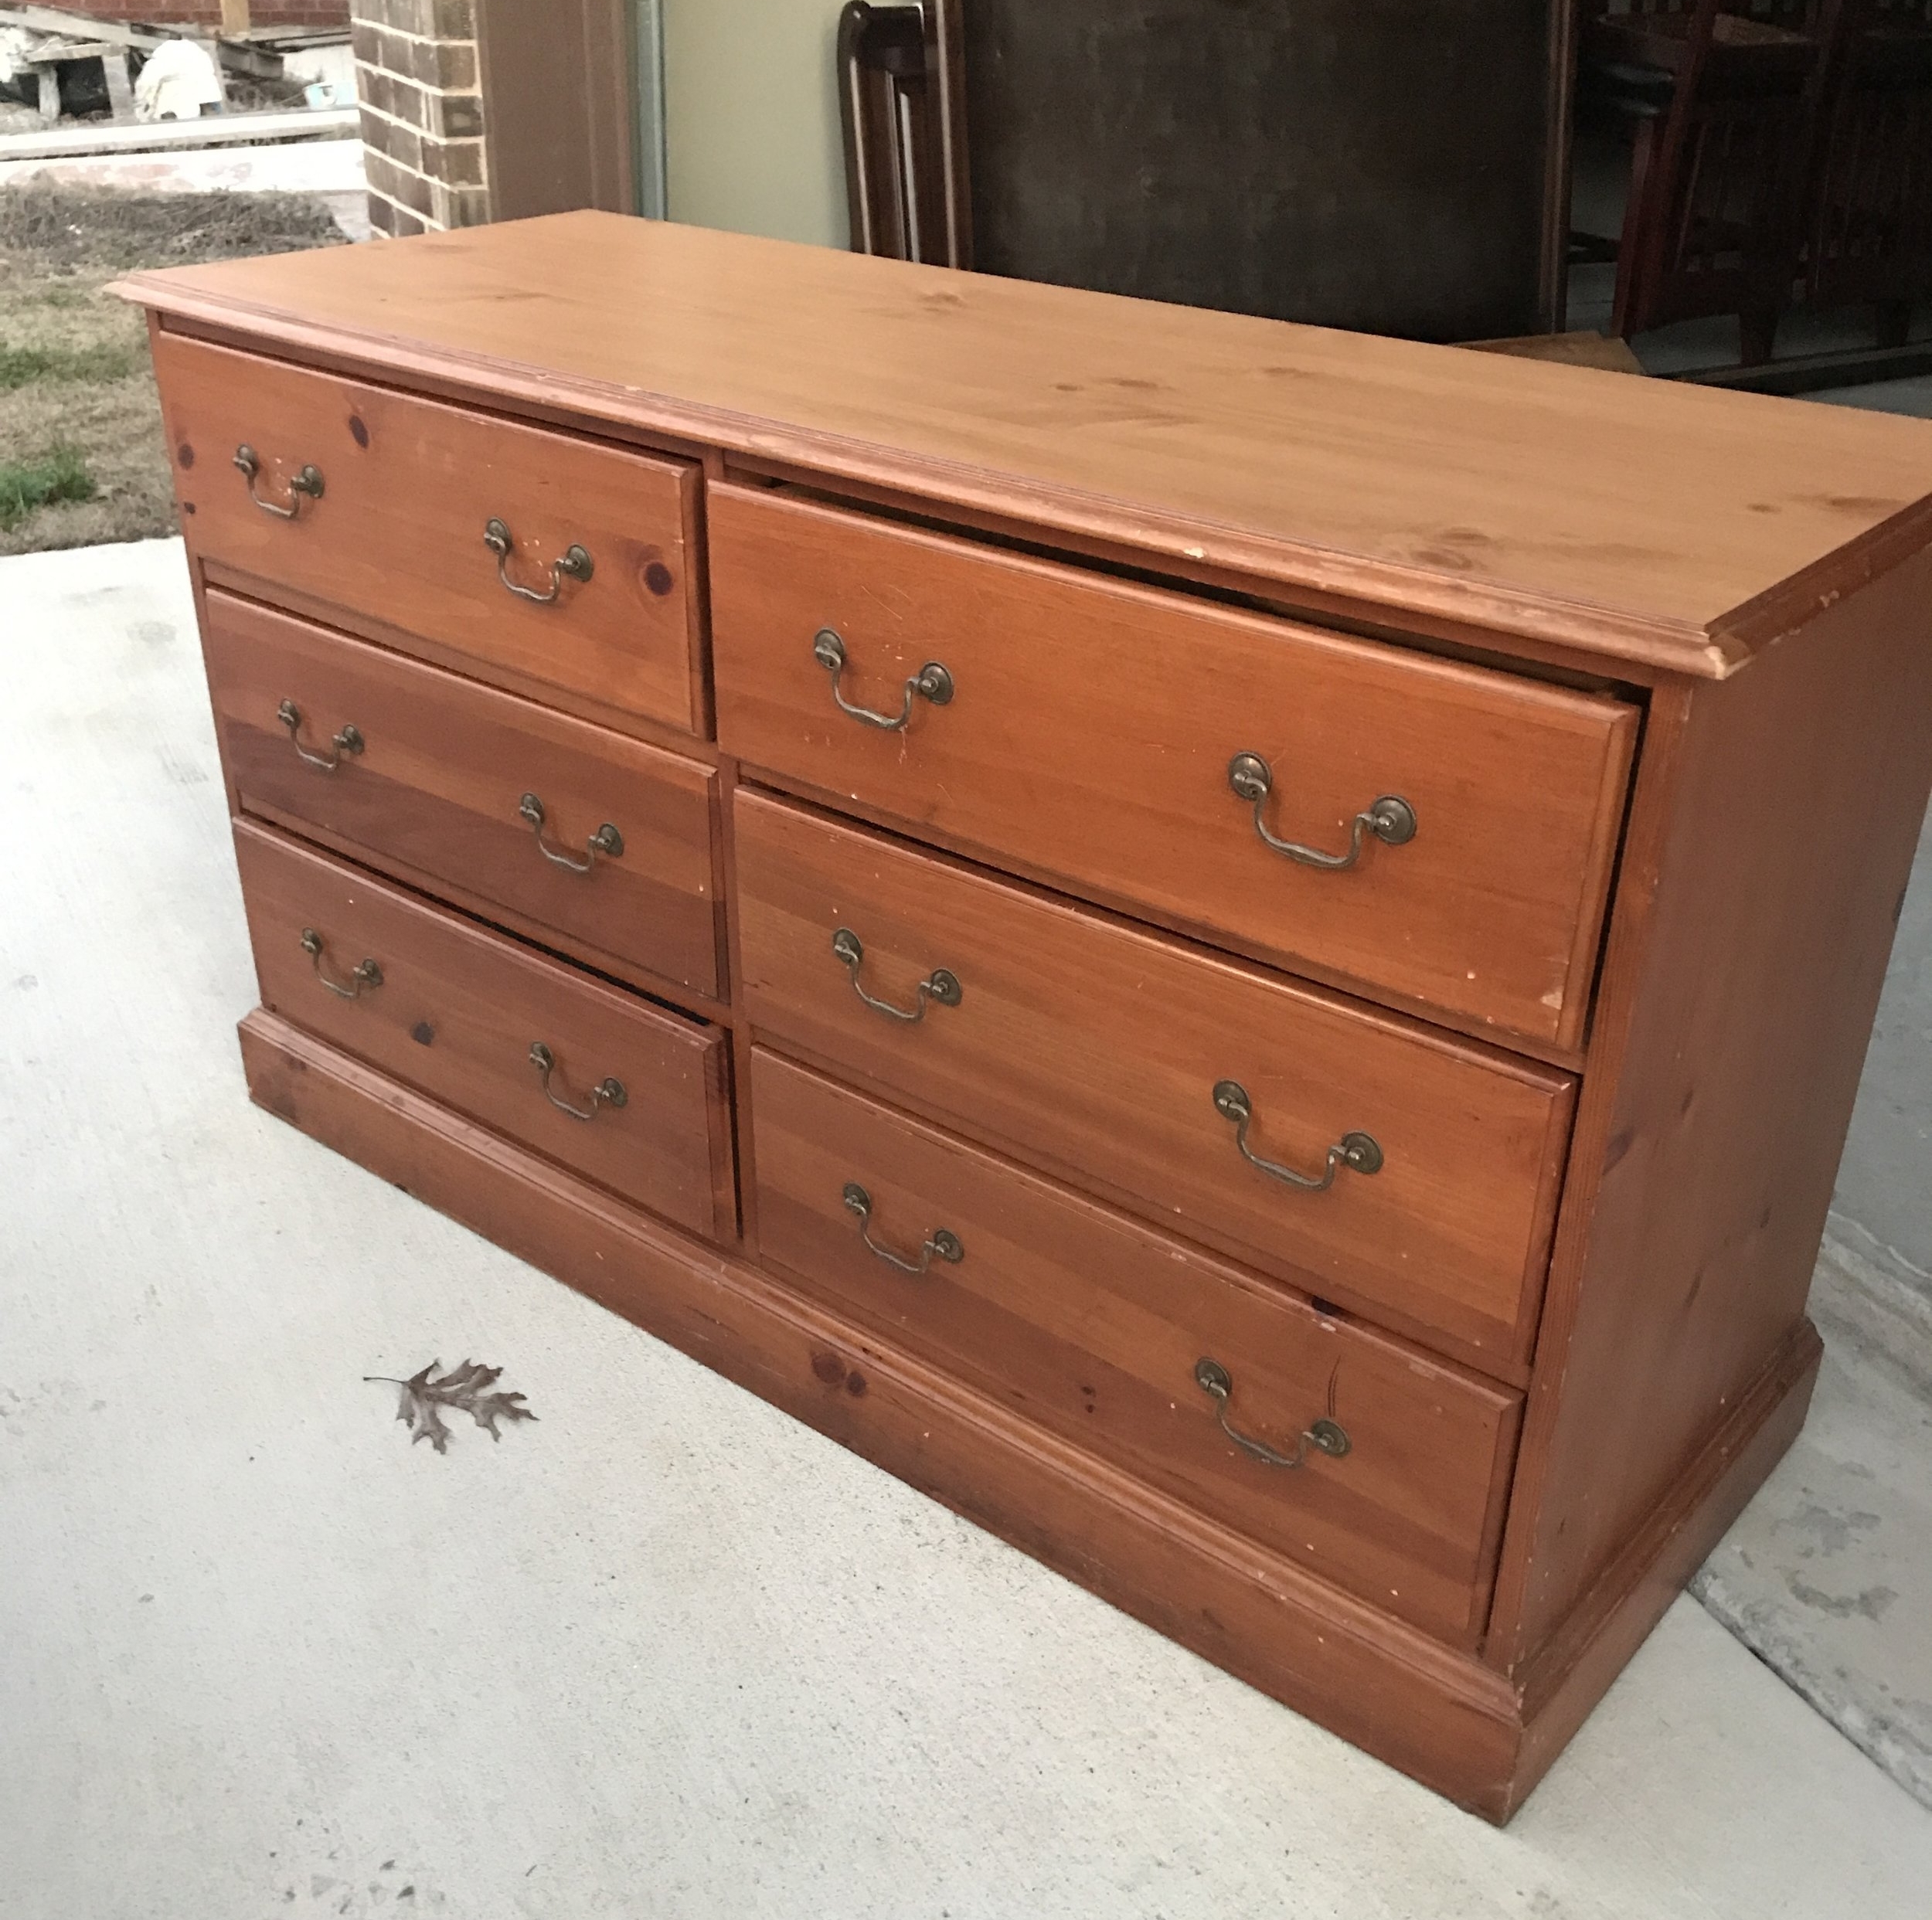
Before
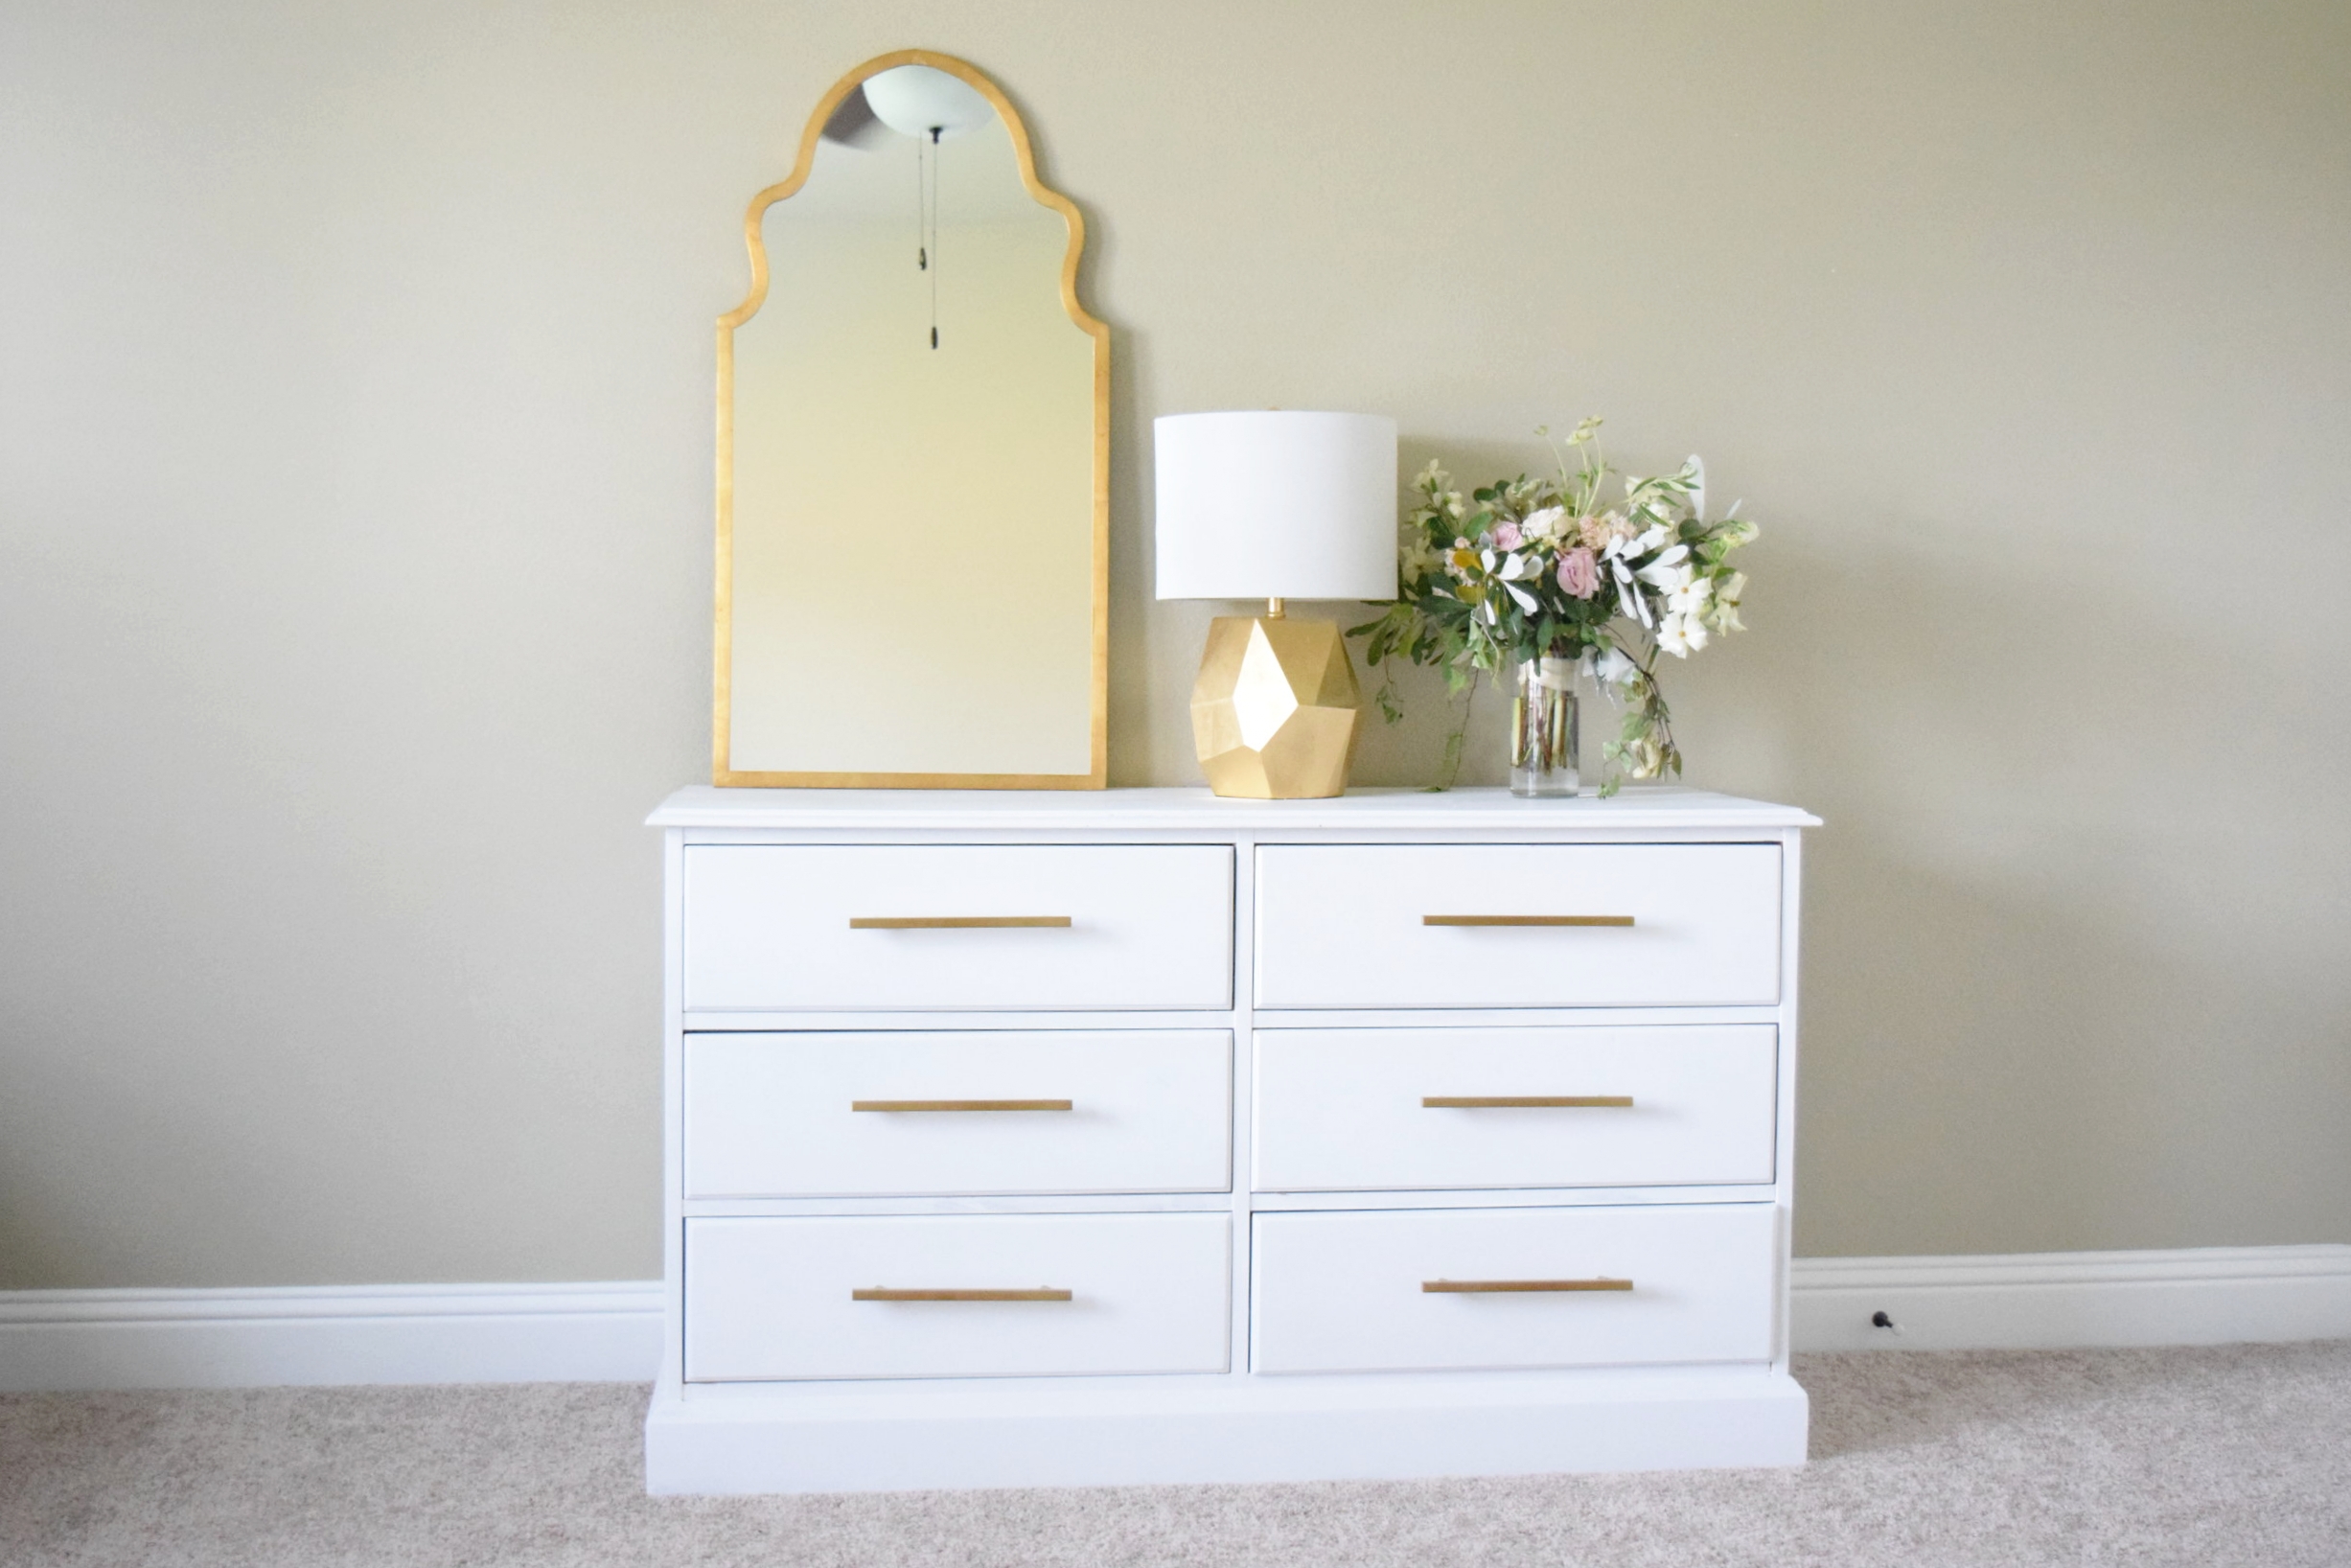
After
We did the end tables too!

Before
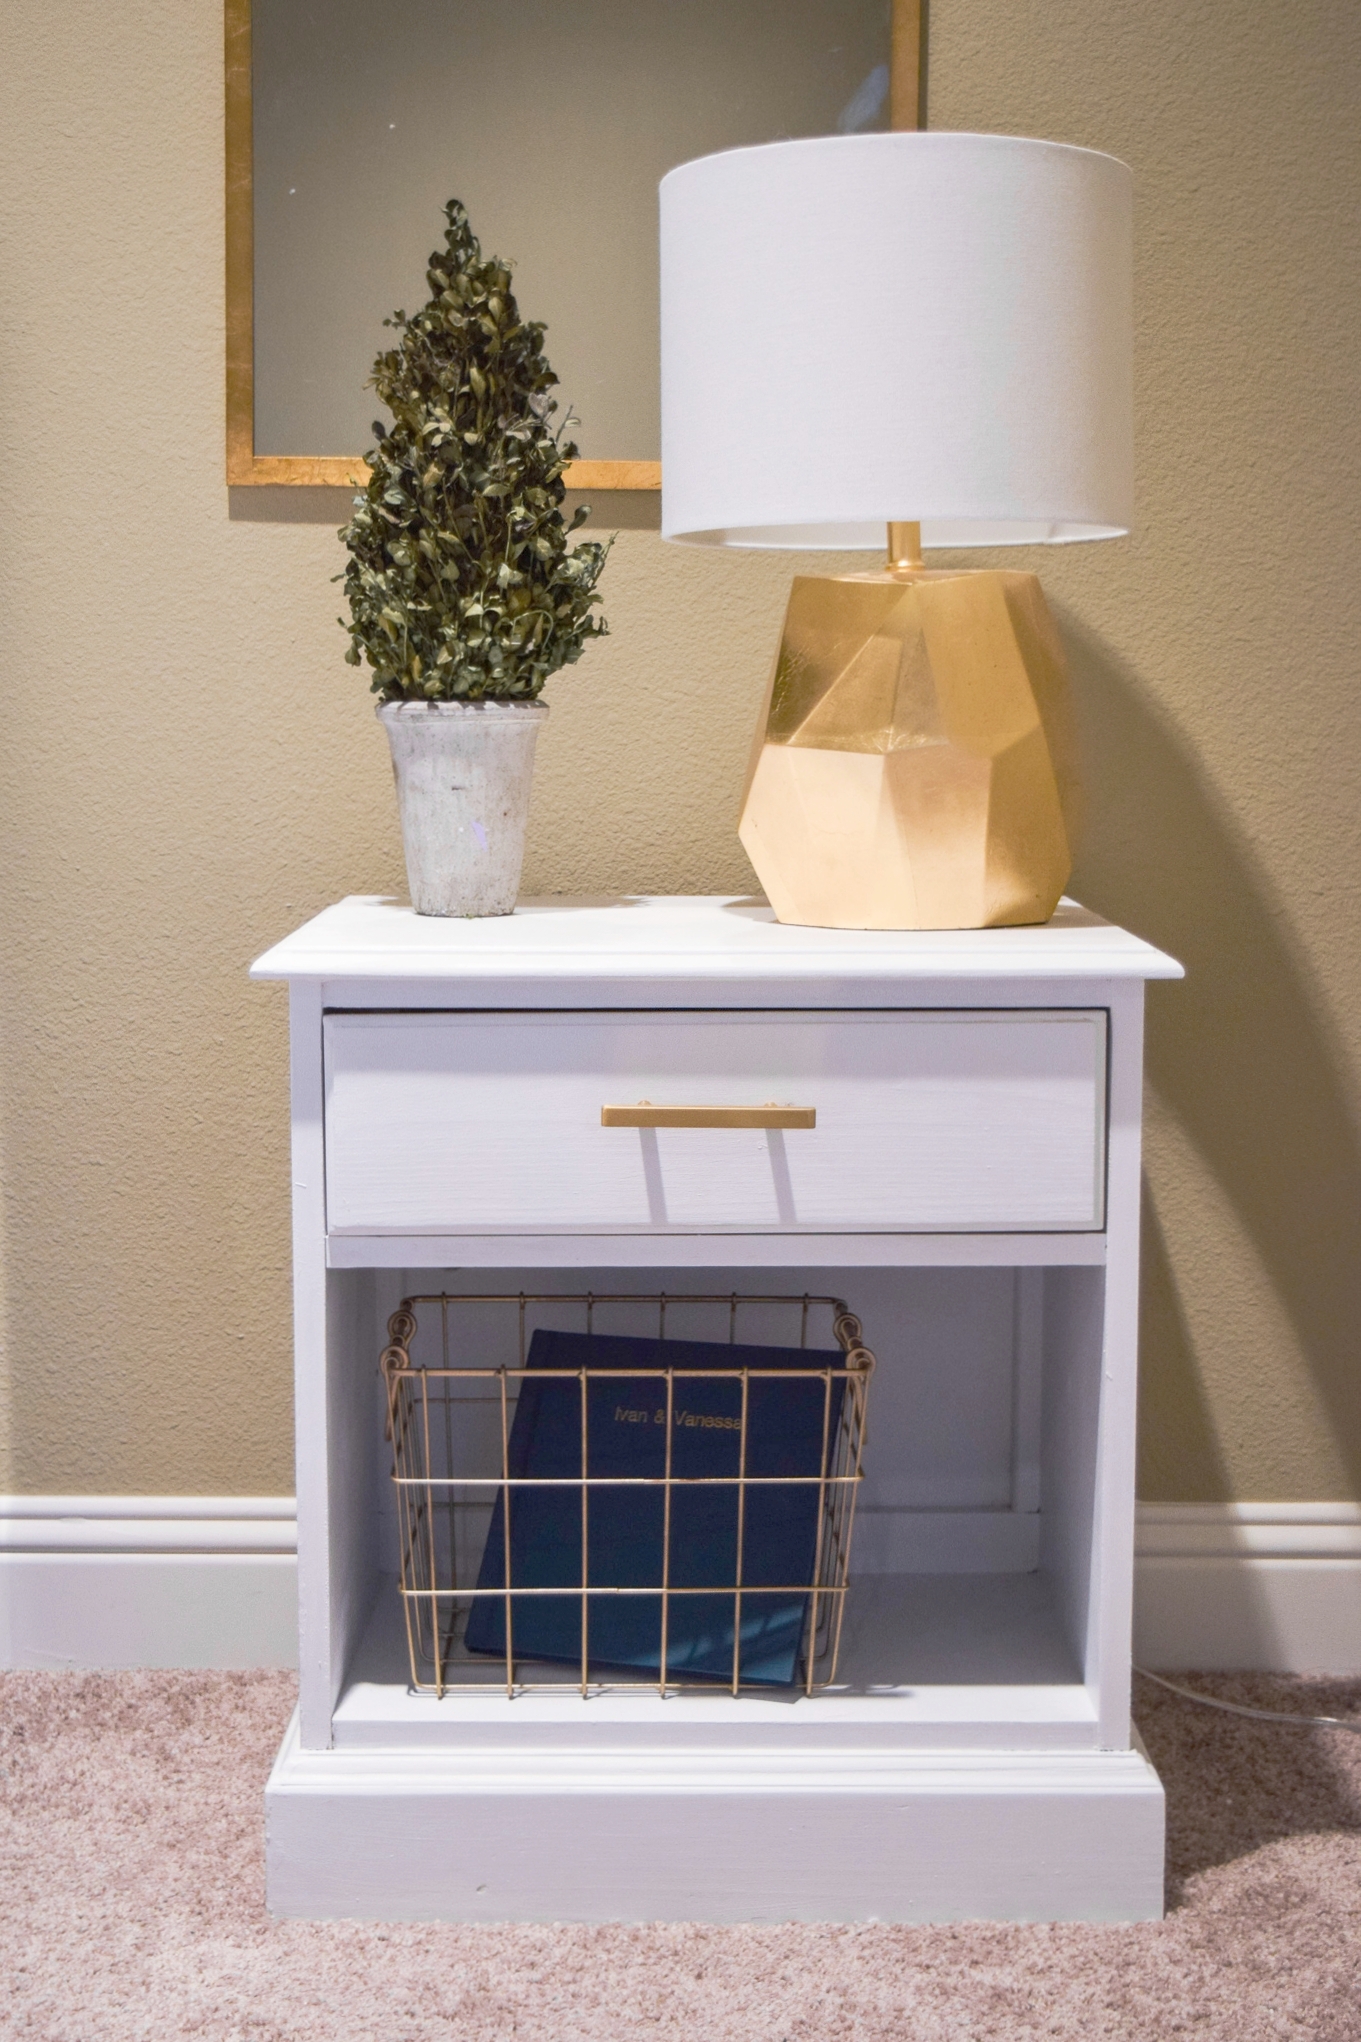
After
Here is where you can find these exact handles

I hope you enjoyed this quick blog post about our before and after dresser and end tables!!! Let me know if you have any questions on any of the steps! Enjoy your day!

