

Easy DIY Paw Print Cast for Dogs, Cats, and Rabbits
Almost 2 weeks ago, we decided to take the initiative and create paw print casts or molds of our 3 pets. We have a Cocker Spaniel, a Cat, and had a Dutch Rabbit.
Our Dutch rabbit Chase was terminally ill and we knew we were limited on time. Since we weren’t sure at the time what route we would take (cremation, professional paw print mold, etc), we decided to take matters in our own hands and cast our pets paw prints just in case. We decided to do all three at once, even though our Cat Hailey and Cocker Spaniel dog Ginger are healthy.
We were inspired by a YouTube video and it was fairly easy to follow. Here are the steps and the outcome of our Easy DIY Paw Print Cast for Dogs, Cats, and Rabbits!

Items you will Need:
Plaster of Paris
Play-Doh
Plastic bowls for mixing
Spoons
Measuring Cup
Shadow Boxes
Decor of your Choice
How to Get Started
The first thing that we did was roll up the clay into a ball and flatten to create a circle. It’s best to get the shape of the play-doh as you want it because once you pour the paster over it, it will likely outline that shape. We decided to keep them as a circle for my dog and rabbit and indent a heart shape for my cat just to add variety to our overall design.
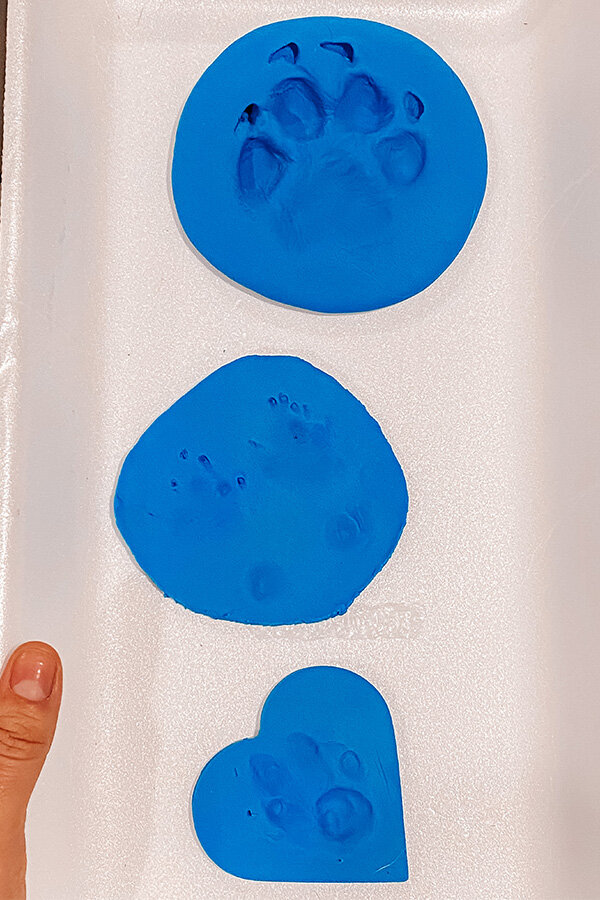
Once you have the clay flattened, start pressing those paws down on them! Then, after you got the paw prints stamped into the clay, place the mold into individual bowls. We ended up purchasing red bowls from the dollar store, where we placed each of the clay molds in their individual spots.
Working with Plaster of Paris
Next, mix the Plaster of Paris into each bowl, using 1 cup of water per two scoops of plaster. This is important! Mix until it’s still a little runny as you don’t want the plaster to be too thick. This will help for the play-doh to not stick to the plaster. We had made the mistake of not letting it be runny enough so the clay did get stuck to the plaster and we had to peel it off. I would suggest to try one paw print to see how it comes out before proceeding with the next. In our case, the paw prints came out very good, and we didn’t want to put our pets through the process of reprinting their paws since they weren’t too happy about it the first time.
***Note: Depending on your pets temperament, you might be able to skip the clay and go straight into pressing their paw/s into the plaster instead. Just keep in mind that this might be a bit more messy, and they may get plaster in between their paws.

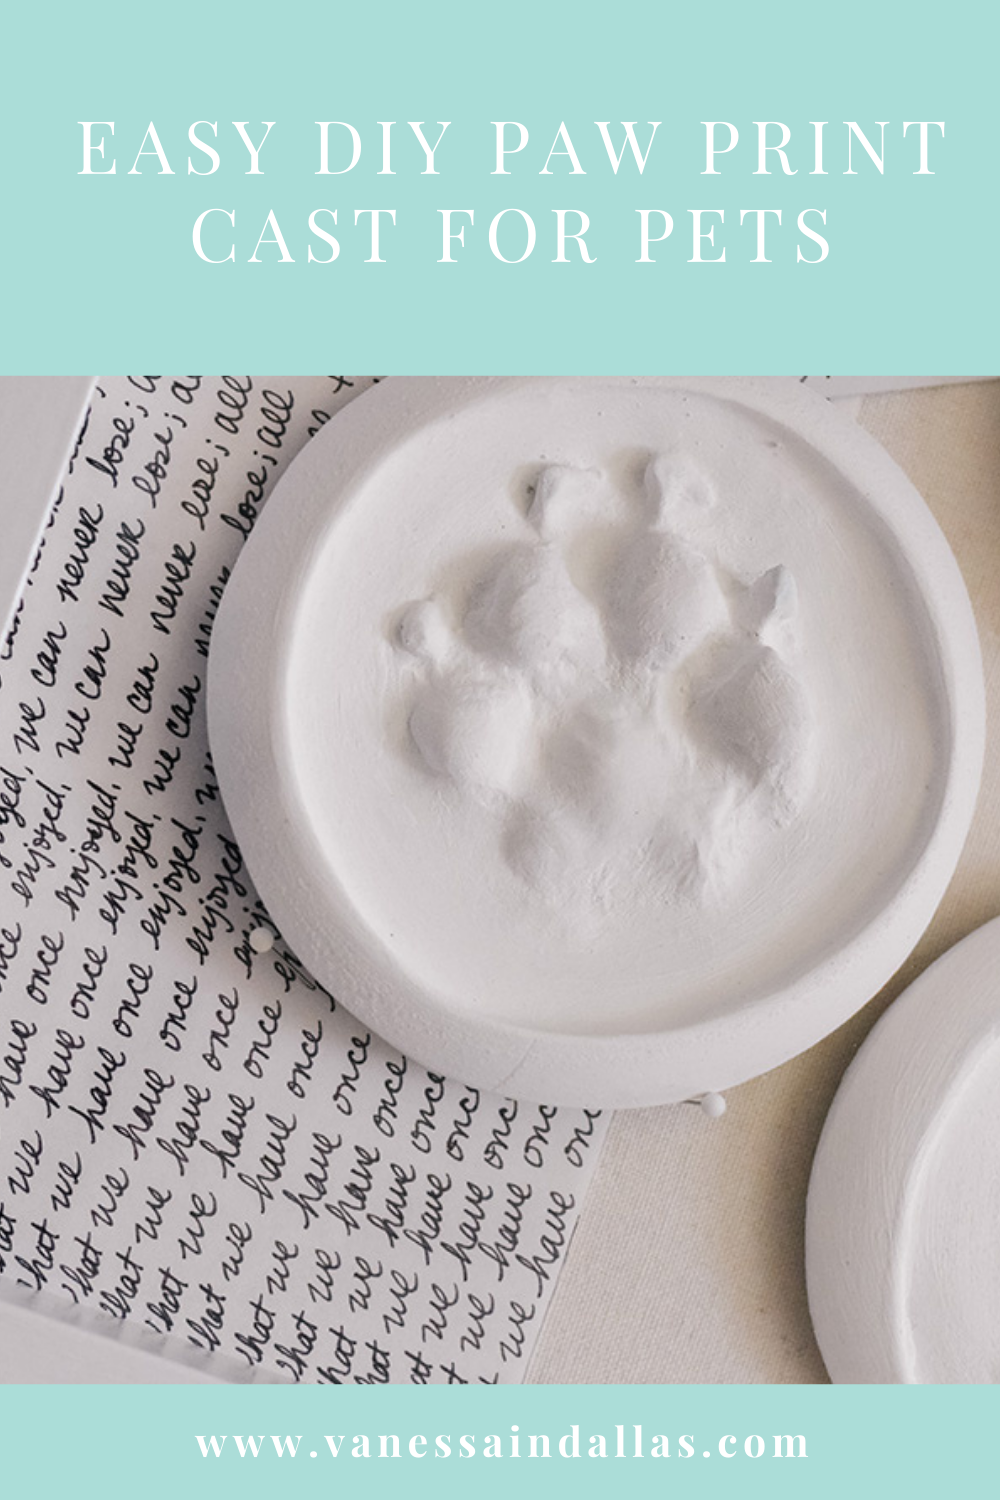
Since the clay stuck on to the mold after it dried, but the mold looked great….we decided to just do our best to take off the clay from the mold and paint it white. When we peeled off the clay from the dried cast, it had a blue tint. Which is why we decided to paint it white for balance.

I purchased the shadowboxes from Michaels, it was buy 1 get 2 free! I then took photos of my pets using the Instax Mini 9, and bought some extra decor to create a rainbow from Walmart for $0.99 cents. I used double sided tape for the photos, and velcro to hold up the paw print molds.
Here is the final product! What are your thoughts?

In Loving Memory to my sweet Bun Chase